How to create a Catalog on your Facebook Business Manager?
A Catalog is like a container that holds information about items you seek to promote on Facebook as well as Instagram. Meta facilitates such catalog creation to run ads on its media platforms. Such catalogs display your items, sales from a shop, and much more.
Meta recommends you create and maintain a single catalog to keep all your items in one place rather than taxing by creating multiple catalogs. Such unified segregation eases the promotional procedure on Facebook and Instagram.
What must be done before creating Catalogs?
Creating a catalog is a fairly simple procedure. It won’t take much of your time. But if you seek to run your ads on Facebook and Instagram, then before cataloging, you must ensure and fulfill the following Meta conditions:
Create a Facebook Page for Business
Businesses must have their own Facebook page. If not, then they can create a Facebook page specifically for their Business.
Create a Business Account with FB Business Manager
Businesses must create their own Business Account in Business Manager. By this, you can assign your catalog to your Business. Businesses must ensure to get full control of their Account.
How to create a Catalog on Business Manager?
After the aforementioned conditions are met, then you can adhere to the following procedure to create a new catalog:
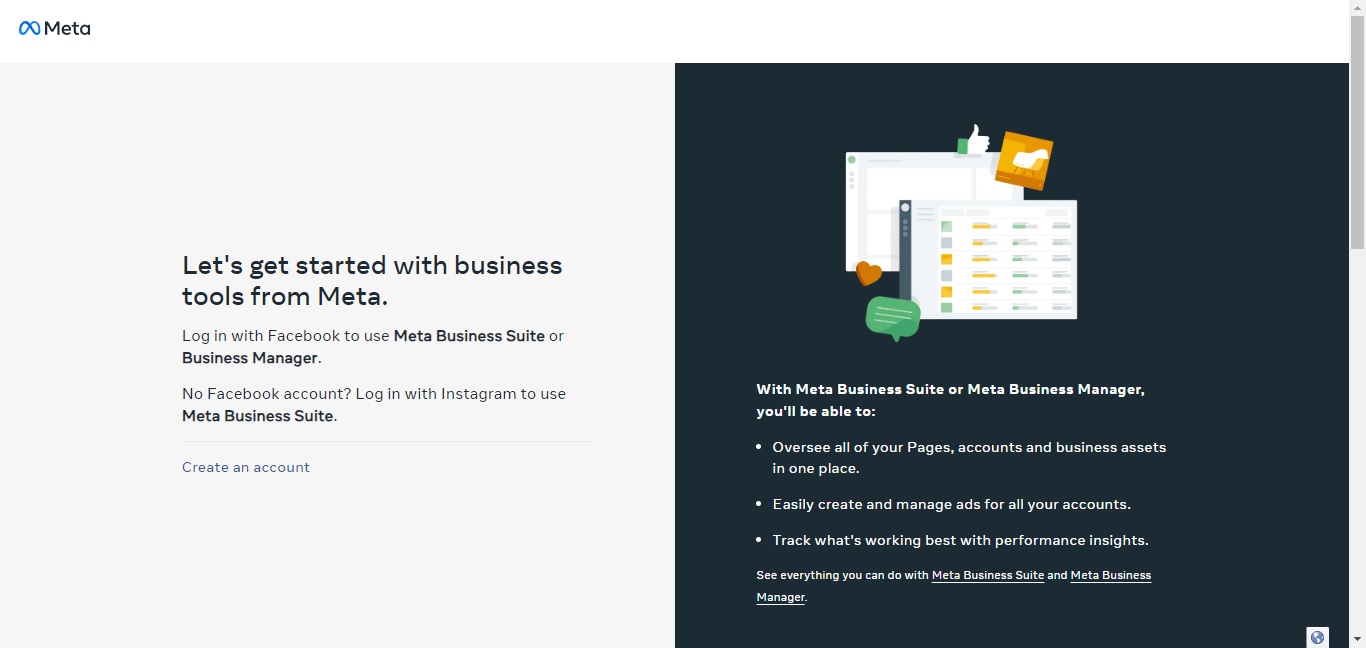
1) Login with your Facebook Account to use Meta Business Suite or Meta Business Manager.
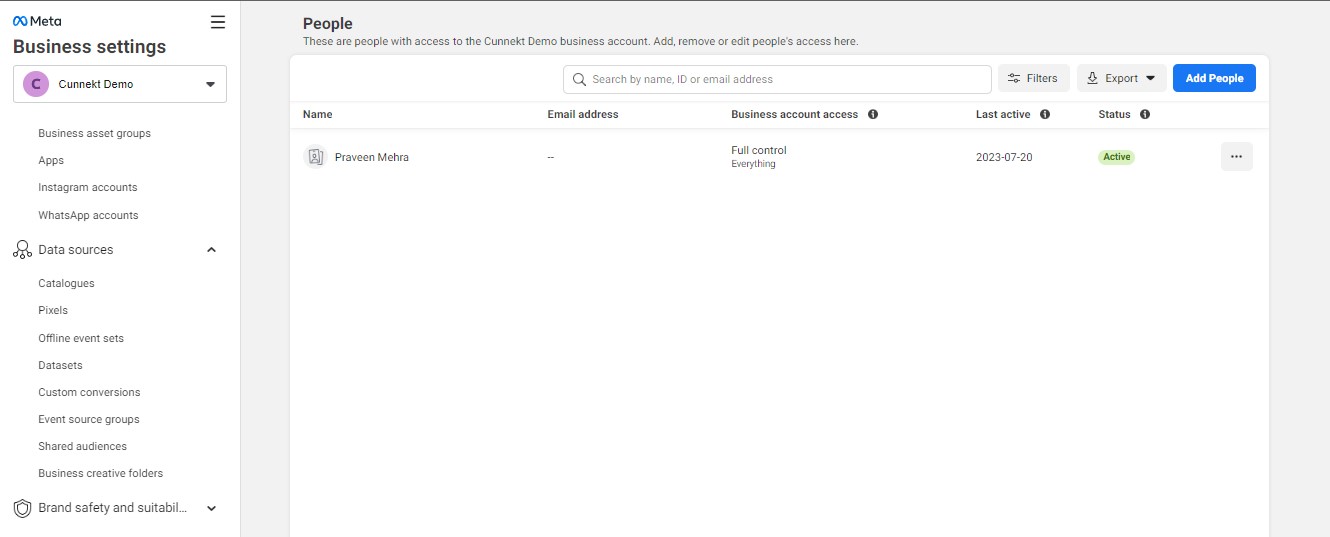
2) Come to the Business Settings page of your profile. Click on the Data Sources drop-down menu, and then click on the Catalogs option.
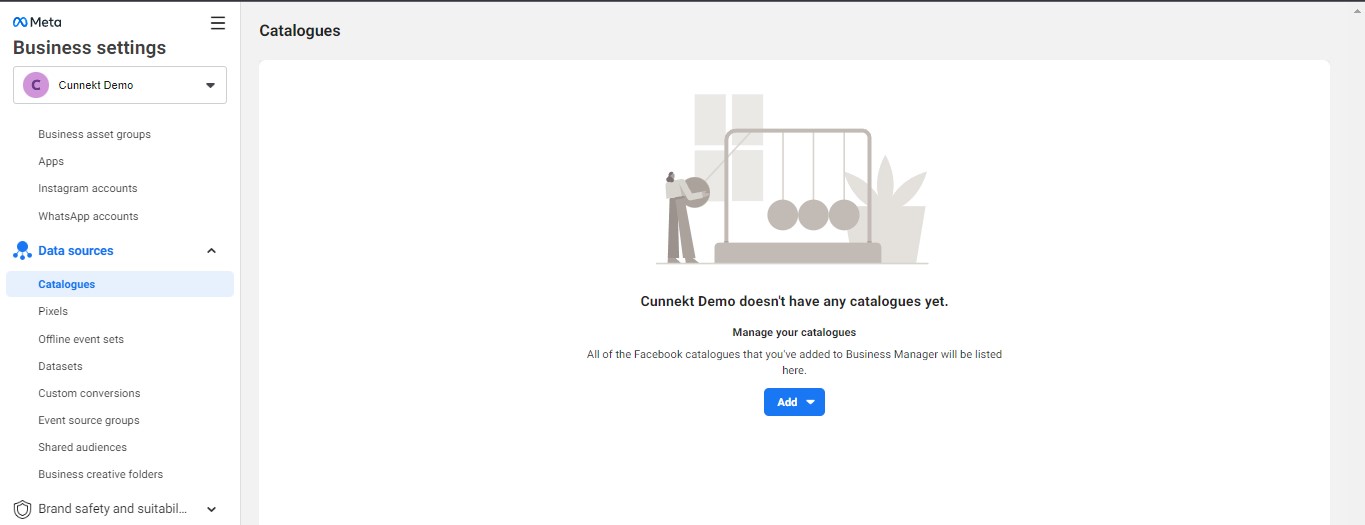
If there are no pre-existing catalogs, then the list will show that your account does not have a catalog yet. Otherwise, it will list all the saved catalogs.
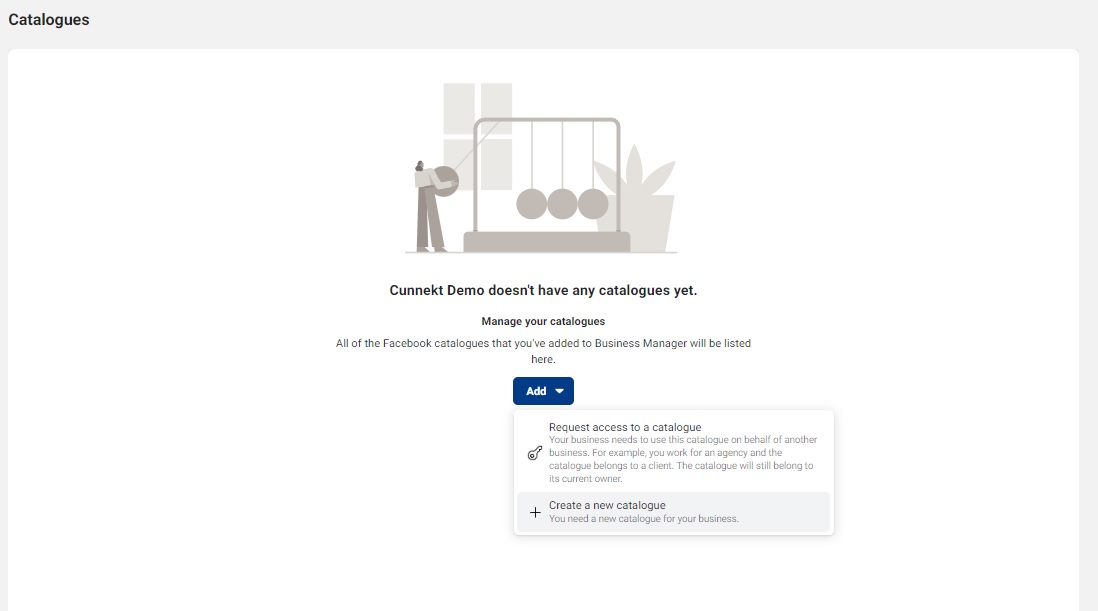
3) Click on the Add Button. Here, you will have two options. Either you can request access to an existing catalog or create a new catalog for yourself. Since we want to create a catalog, we will choose the latter option.
4) Upon clicking, ‘Create New Catalogue’ pop-up will appear. Name your catalog and select its suitable type. After entering the details, click on the Create Catalogue button.
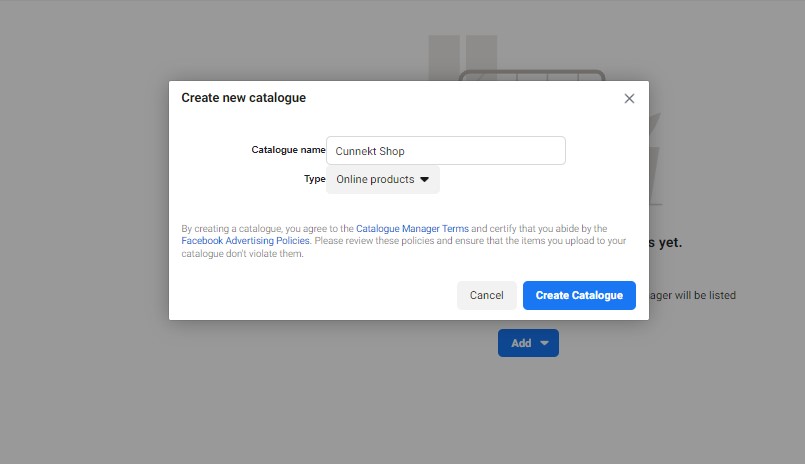
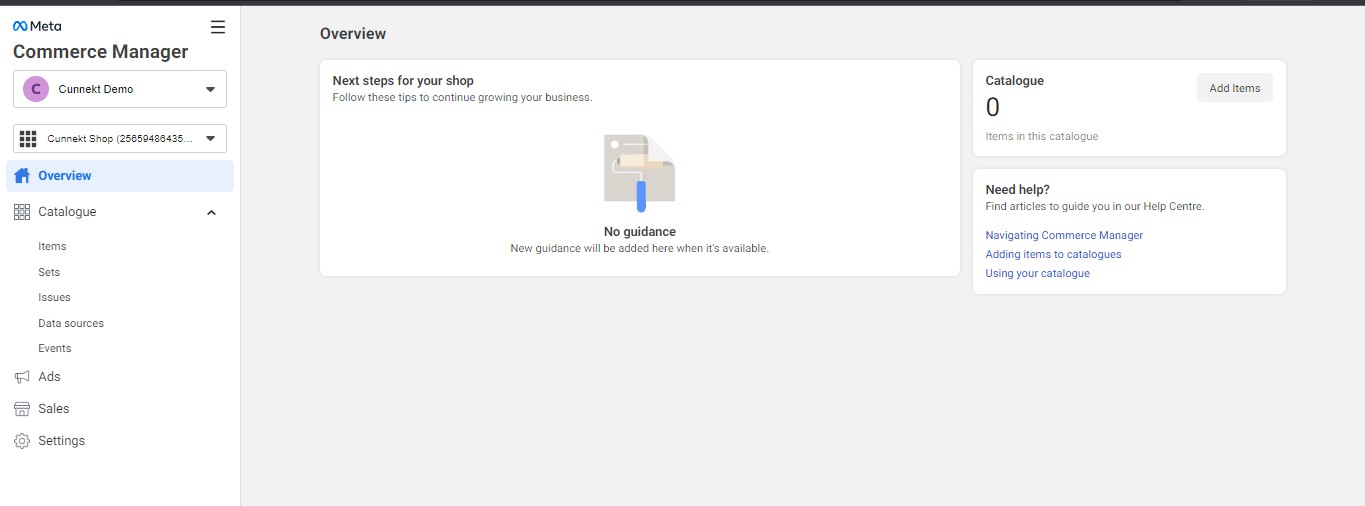
Your catalog is created. Hereafter, you can add items to your catalogue.
How to Add Items in your Catalogue?
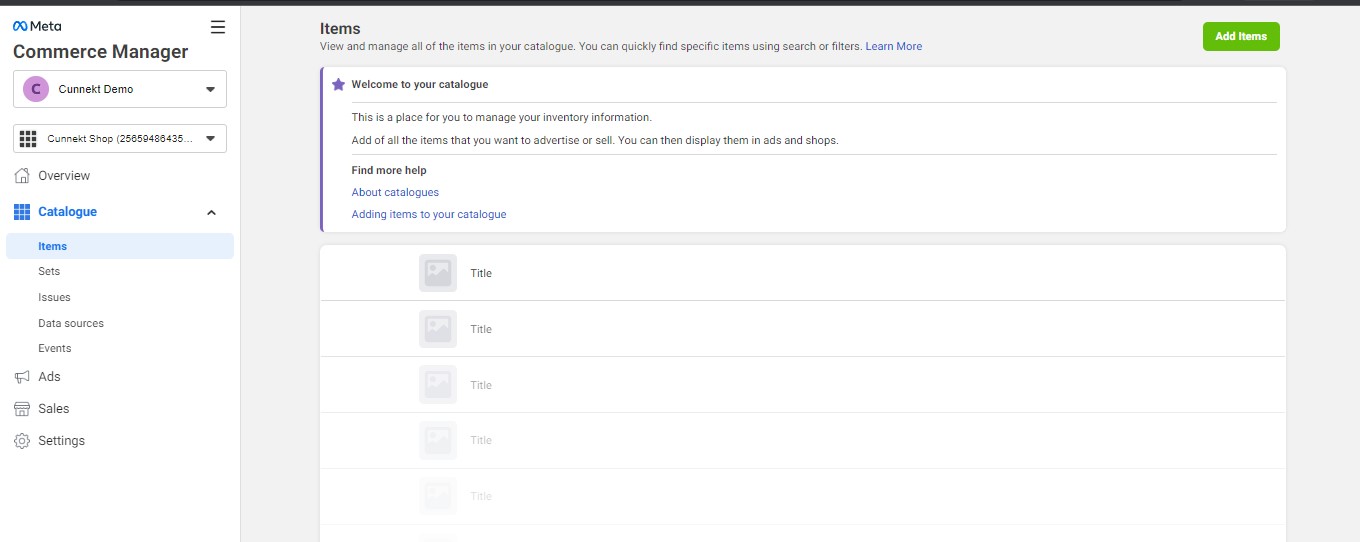
On clicking on the Item option on the left side tray of the catalogue profile, an Item window will pop-up. From here, you can manage all the items in your catalog.
To add an item, click on the Add Item button.
Upon clicking, an Add Items window will pop-up, asking you to choose and select the type of item you want to add.
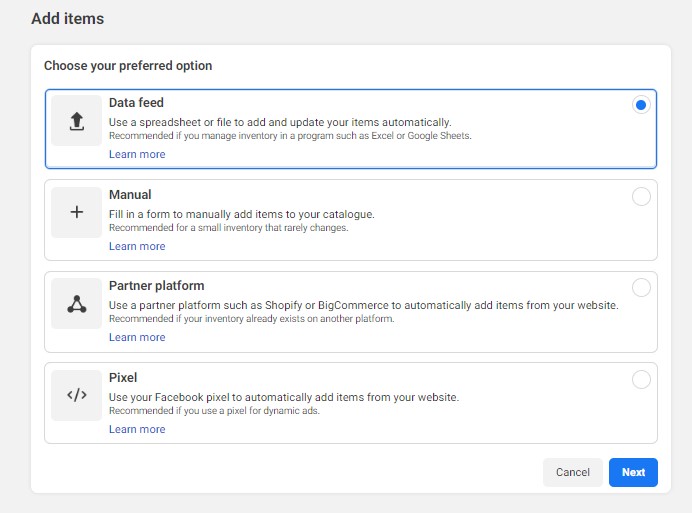
There are four options from which you have to choose, namely:
- Data Feed: In this option, you can use a spreadsheet to upload multiple items to the Catalogue
- Manual: This is the option of manually entering details of the Items one-by-one. Such an option is good in case of fewer entries.
- Partner Platform: Here, you can add items directly from your Media Partner platforms, such as Shopify to your website.
- Pixel: You also have the option of automatically adding items to your catalog using Facebook Pixel.
After taking your pick, and following the relevant process, you can add items to your catalogue. Such items will be displayed to the User in case he clicks on the Cart icon of your WhatsApp Business Account.